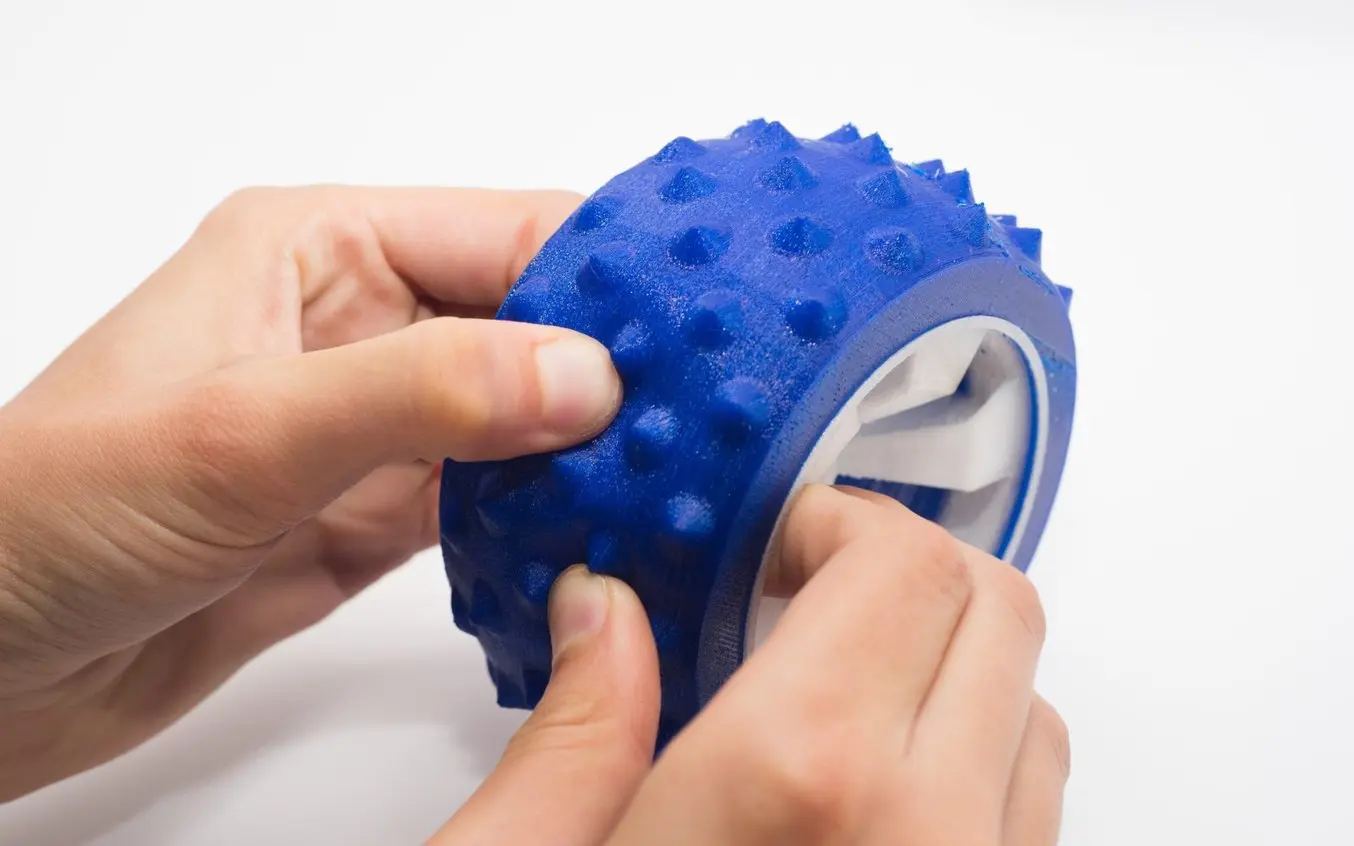
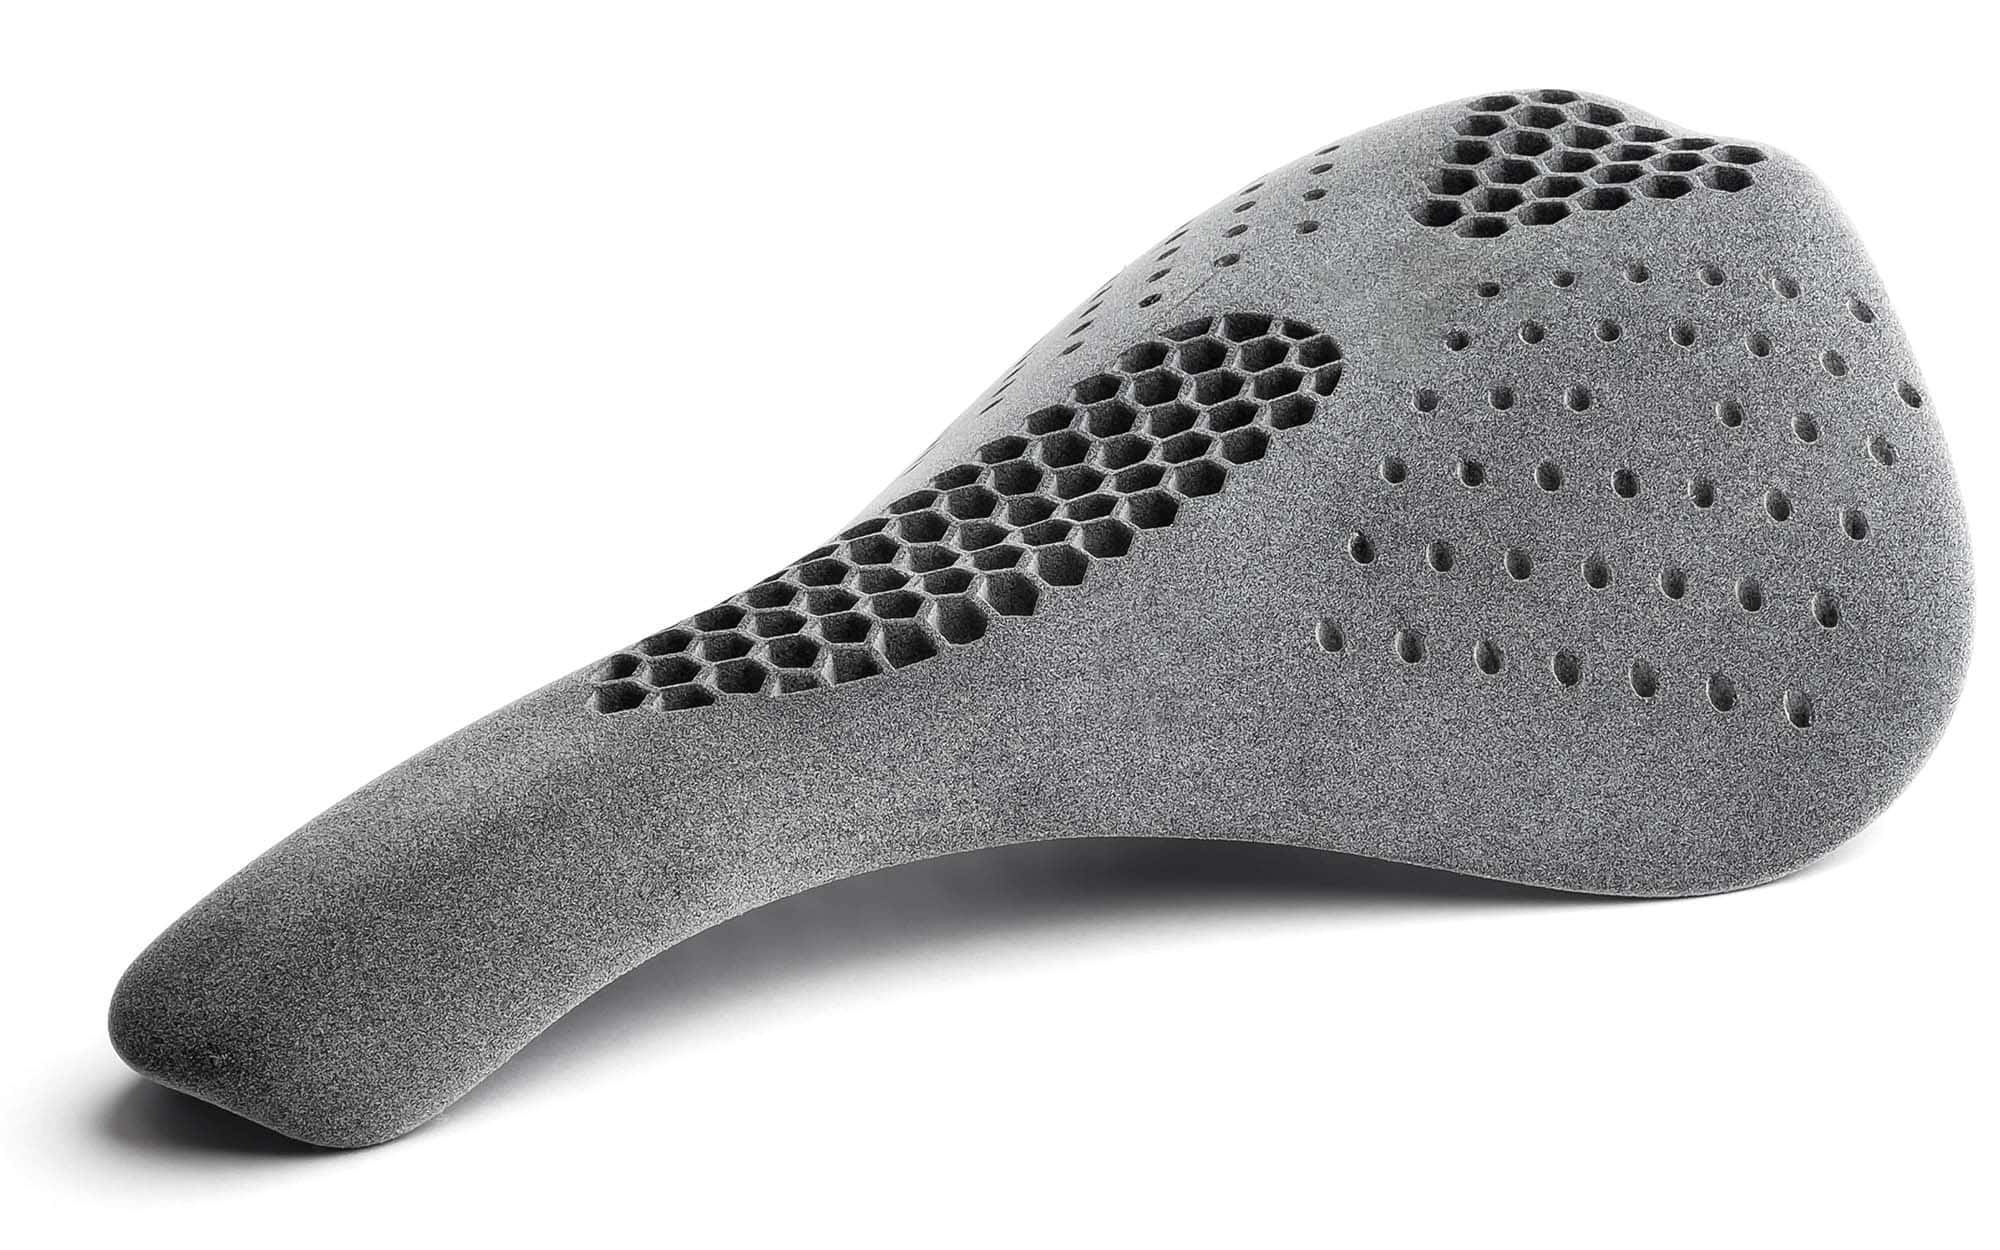
TPU or thermoplastic polyurethane is a rubber-like material that’s great for creating flexible or slightly soft parts using FDM printing. There are many steps to using this material, so in this guide, we’ll be going through choosing the correct TPU, correct print settings, applications, and preparing and storing the filament correctly.
Shore Hardness
Shore harness is a factor used to grade the stiffness or flexibility of materials. Essentially, it’s used as a number to identify how hard a rubber is. Due to the limitations of FDM printers, most TPU and TPE filament ranges from about 60A to 95A shore hardness. Evident from the scale below, this ranges from the softness of a pencil rubber to hard tyre treads. The most generic TPU on the market is 95A shore hardness as harder filaments are easy to print.

Printer Capabilities
As TPU is a flexible filament, printing with it comes with additional considerations. On printers with a Bowden tube setup, a slight amount of resistance can cause the filament to bend and unwind inside the extruder. While this is uncommon, it is a possibility, thus printing TPU is recommended for direct drive printers. Again, due to the flexibility of TPU, in some cases, the extruder gear may have to be upgraded to sharper gears or to have more grip on the filament as printing with TPU can cause gear-slipping. This is especially apparent with softer grades of flexible filament. This is simply a warning to keep in mind, as most printers should print TPU fine without an extruder gear upgrade.
Preparation and Storage
TPU is known to absorb moisture from the air very quickly which can cause undesirable results in the print. As seen in the print below, the surface is pitted with air bubbles from evaporated moisture. Uneven printing can affect the flexibility of the print and causes issues with flow control as well.

Credit: Wiezzy
Thus, being a good practice with all filaments, it’s imperative that flexible filaments are stored in an airtight container with desiccants if possible. To achieve the best quality prints, TPU should be heated and dried prior to a print. While a filament dryer is ideal, the same process can be done using a food dehydrator. Shown below are prints made using the same roll of TPU, the only difference being the cube on the right was printed after the roll was dried for 10hrs at 70oC.

As seen, the surface quality of the second print is no different to an ordinary non-flexible print, and the flexibility is much easier to control.
Print Settings
TPU only requires some slight adjustments from ordinary PLA settings. Shown below are some recommended changes but apart from those, it’s fine to select settings best suited to your preferences.
- Extruder Temp: 220 ± 20oC
- Bed Temp: 40 ± 10oC
- Speed: 75% of PLA print speed
- Turn off retraction
The flexibility of TPU prints are controlled by the wall thickness and the infill of the print. For a stiffer rubber print, a wall thickness of about 3 layers and infill 10% works well. For a very soft, compressible print, 1-2 layers with no infill works well. For your specific application, it’s best to trial and error with test prints. A good place to start is by selecting a wall-thickness and no infill. Play around with the infill and wall settings as required from there.
Applications
TPU is ideal for situations where a stiffer grade of rubber is required. This works well with phone cases, shock-proof mounts, and flexible joints. As TPU is printed in the FDM style, the surface will not have the same amount of grip as another object made of the same shore hardness. This means that for applications where grid and texture is important, FDM printed TPU will be slightly less grippy. It’s important to note that softer grades of TPU have more surface friction.
TPU is also applicable in vibration damping applications, so long as the temperature does not exceed the glass transition point (approximately 60 – 80oC). TPU is also suited to outdoor applications as it is materially resistant to UV and moisture once printed.


For more information on the properties of TPU and other materials, head to our materials guide through the link below.
